

Project Archive
As a little girl I made daisy chains and scrap paper crowns, and fashioned secret hideouts in our backyard from fallen branches, stones, and old patterned sheets. I’ve always loved to make things from bits of nature, and whatever supplies I have on hand. My archive of original projects is home to all things paper and wood, twine and scissors, flora and sticks, paint and glue.
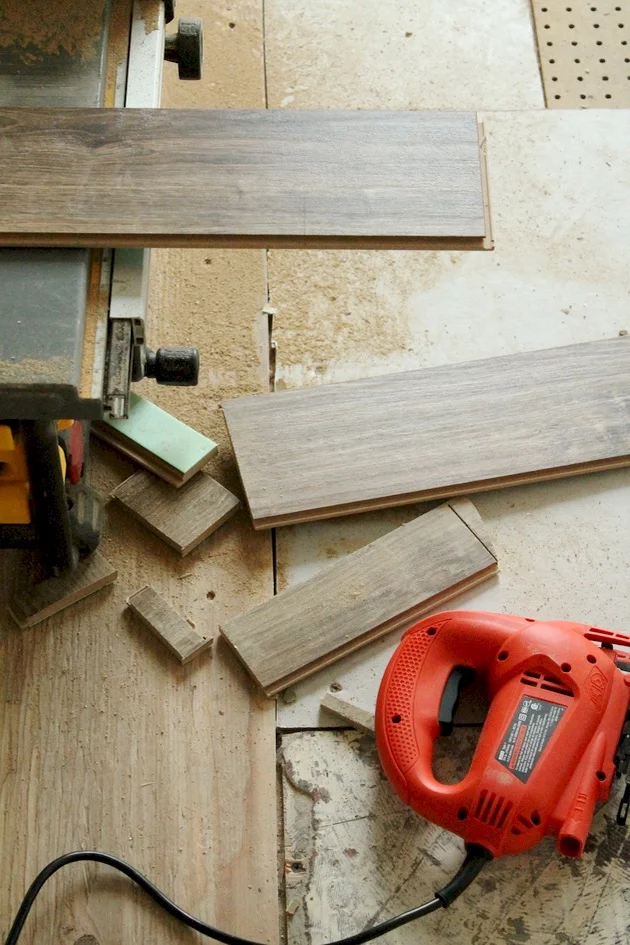
OH MY GOSH, are you still there? I had to take a BIG break during construction, and then we went on a lazy summer road trip across Oregon. The last thing I showed you was the completion of demo, and the beginning of drywall which seems like a million years and 50 projects ago. What happened next involved a lot of elbow grease on my part, some steep learning curves, lots of power tools, and a few wrenches in the plan. I did manage to snap some pictures to share with you along the way. At long last, here we go...
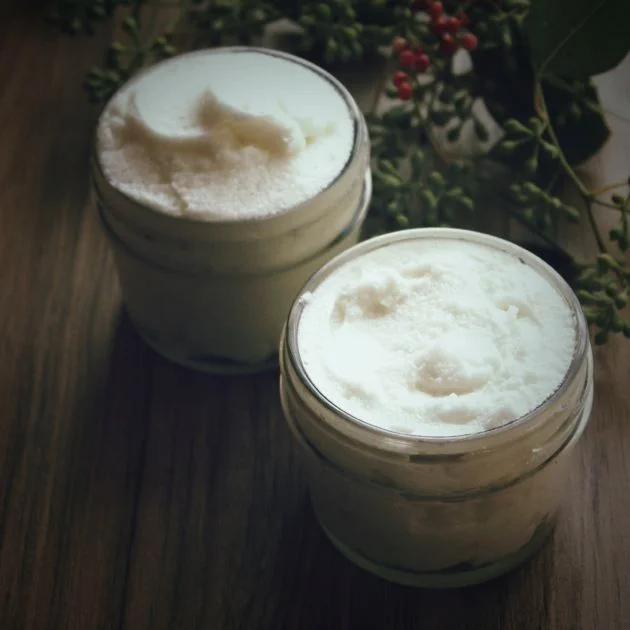
This time of year the cold, dry air always chaps my cuticles and dries my skin. I find myself reaching for balms, salves and potions to combat the harshness of winter. It's also true that this time of year, while I love to bundle up and enjoy the chill in the air, and look forward to the holidays with childish anticipation, I do often find myself feeling sluggish, even a little down. Does this happen to you?
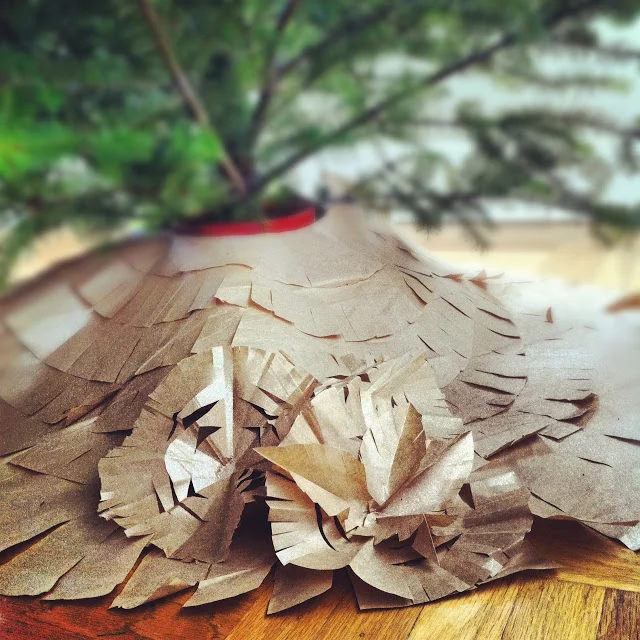
I'm working on fewer holiday projects this year while I focus on our upcoming remodel. I do have a few new ones up my sleeve, including a last minute gift DIY/stocking stuffer which I'll share on Wednesday, but for today, here are some of my favorite Christmas projects from years past. Remember the pretty Paper Tree Skirt ?
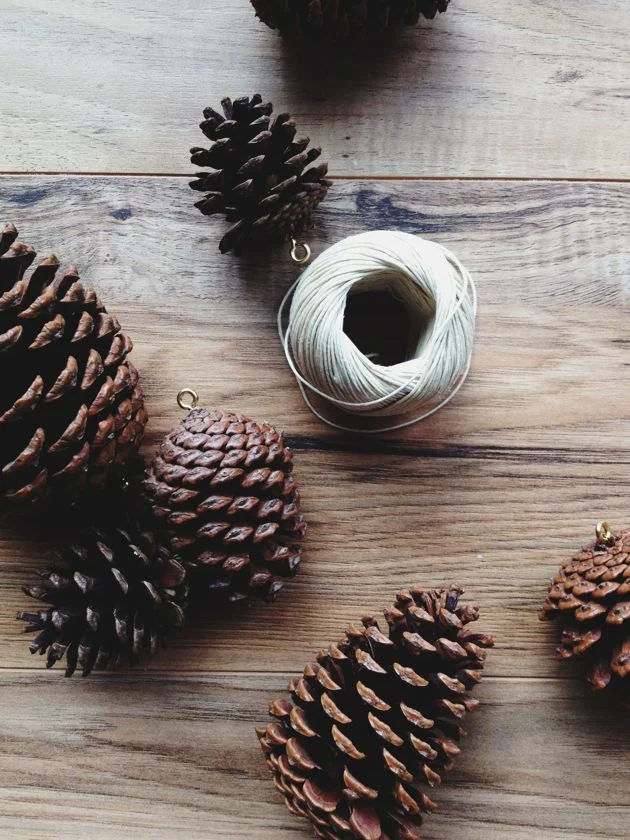
Our family Christmas tree is decorated with heirloom ornaments, snowmen collected over the years, woodland critters, and some handmade gems made by Adam when he was a little fella. Every year we look forward to pulling them out of the Christmas box and trimming the tree together with a little Sufjan Stevens in the background. I don't like my tree to look put together, I like it to look loved.
I had a little play date today with Jasper and his friend Zoe, baking cookies and doing crafty things to pass the time over the week long Thanksgiving break.
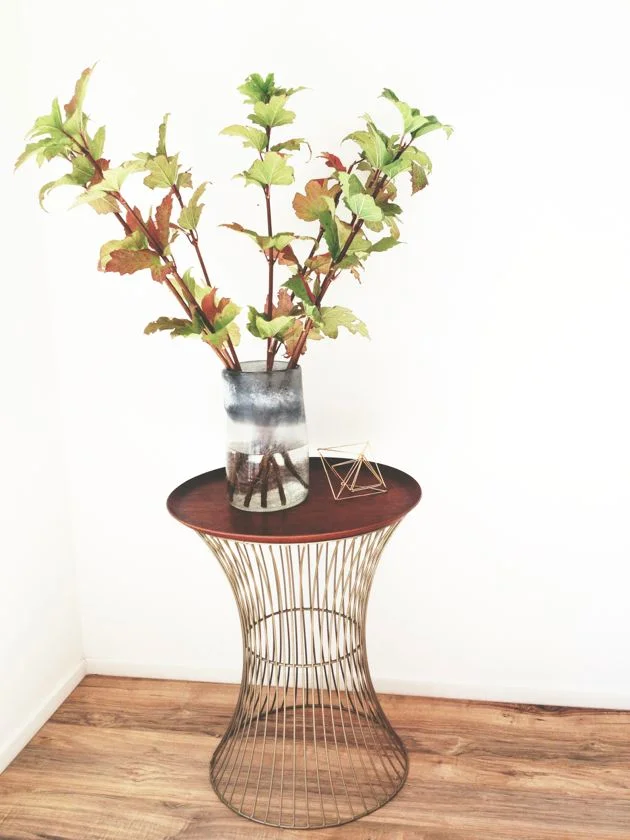
You know that cute side table you find at Target...the one that you can't decide if you like or if it's maybe kind of crappy? You see them on Pinterest and think maybe? I'm a sucker for these things.
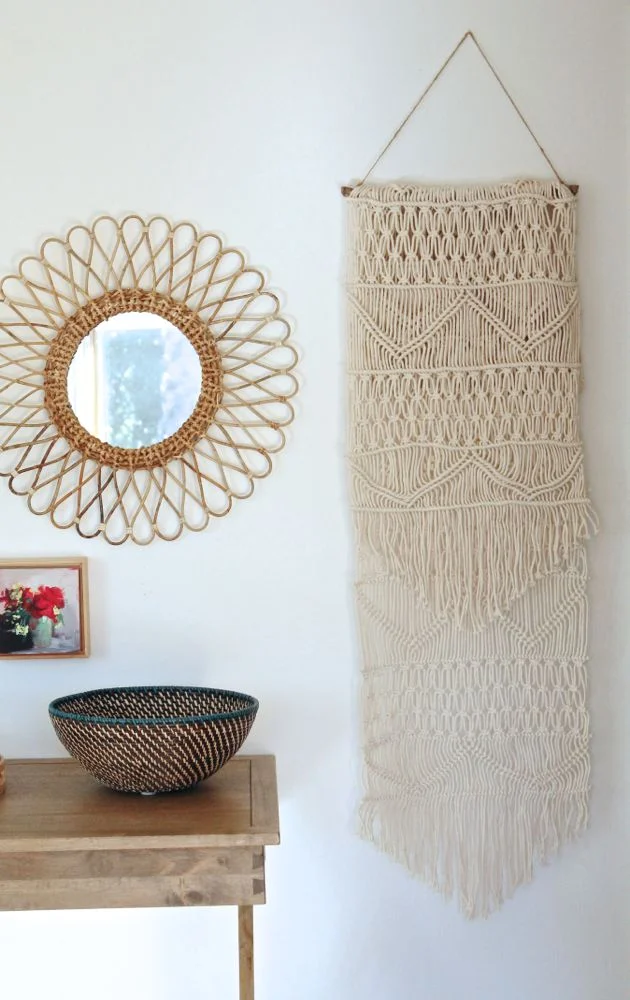
They say you always go back to what you know. I was born in the late 70's, and I like to think that my fondness for the more subtle decor of that era is sentimental. My grandparents built their retirement ranch compound, with a mix of 1970's finishes and older pieces from the 50's and 60's, decor collected from their world travels, and an solarium full of tropical plants with a wall of window that stretched two stories. I have dreams of building such a home one day.
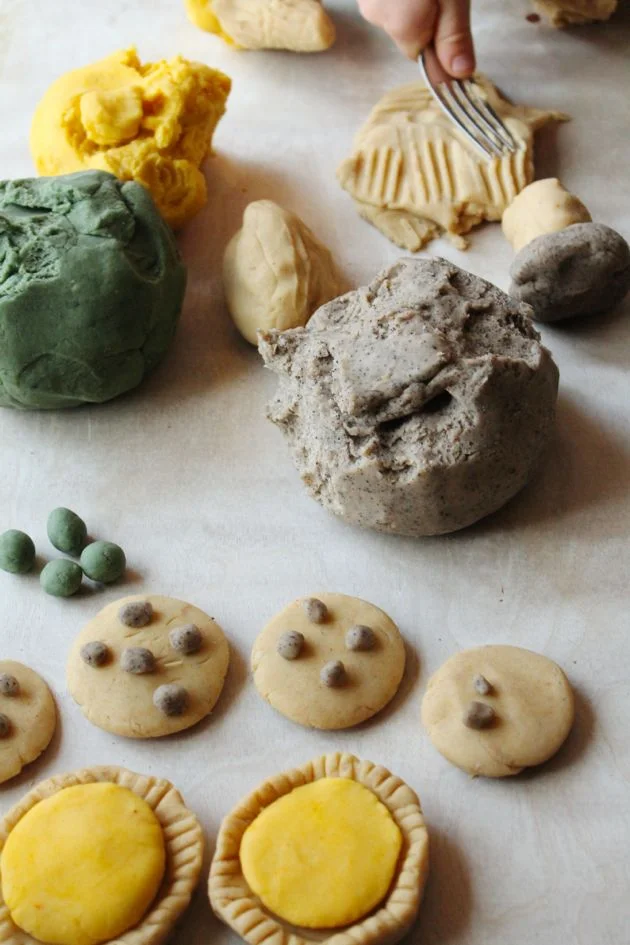
Every Thursday my little Wylie stays home from preschool and we have a day. Perhaps it's because of the endless summer, but lately I've been a little kid-weary, work-distracted, and uninspired, and our time together has been pretty blah. I've been feeling kind of bad about it, so yesterday I decided to give him my undivided attention and we worked on some fun projects, like baking his favorite pumpkin bread and making the play dough for his school.
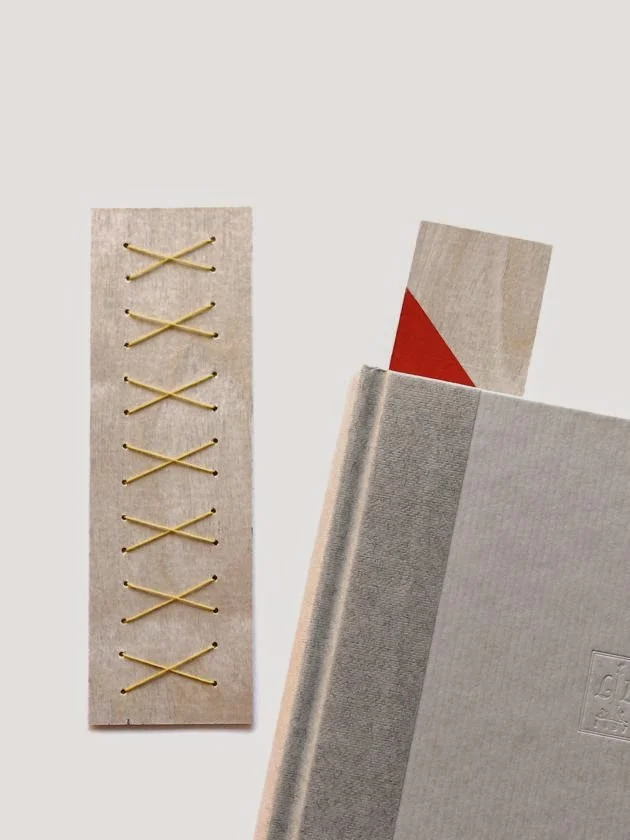
I'll be teaming up with my friends at Blurb again, this time at the Brit+Co conference/festival Re:Make where I'll be leading a book craft at their booth. This part of the event features some incredibly creative makers showcasing textiles, housewares, jewelry and print work. I had that in mind when I mocked up a few bookmarks made from ultra-thin sheets of birch plywood to test as a craft that festival goers can make while checking out what Blurb has to offer. They need to be easy, but they have to be good. So here they are. Some are embroidered, some painted. I like the idea of gift giving a good book and a handmade bookmark; it's simple and thoughtful. I still read real books, because I like the weight and the way the paper feels in my hands, plus they make great coasters...
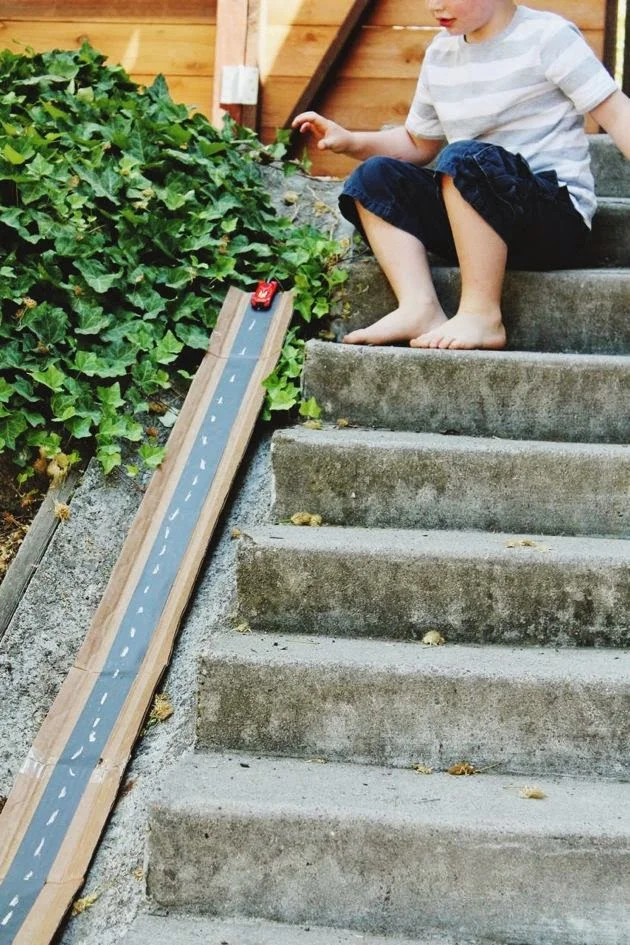
The dog days of summer are upon us. Gone is the magic of school letting out, the first splash in the pool, and cool bite of a popsicle; we are now firmly in boredom territory. It’s time to get creative. So for today I’m giving you a real dog day project, using not much more than a little cardboard, some Scotch® Duct Tape, and a couple of old toy cars. I promise you hours of amusement and hands on fun. And wouldn’t you know it, before we started construction on the new deck, we made a little movie!
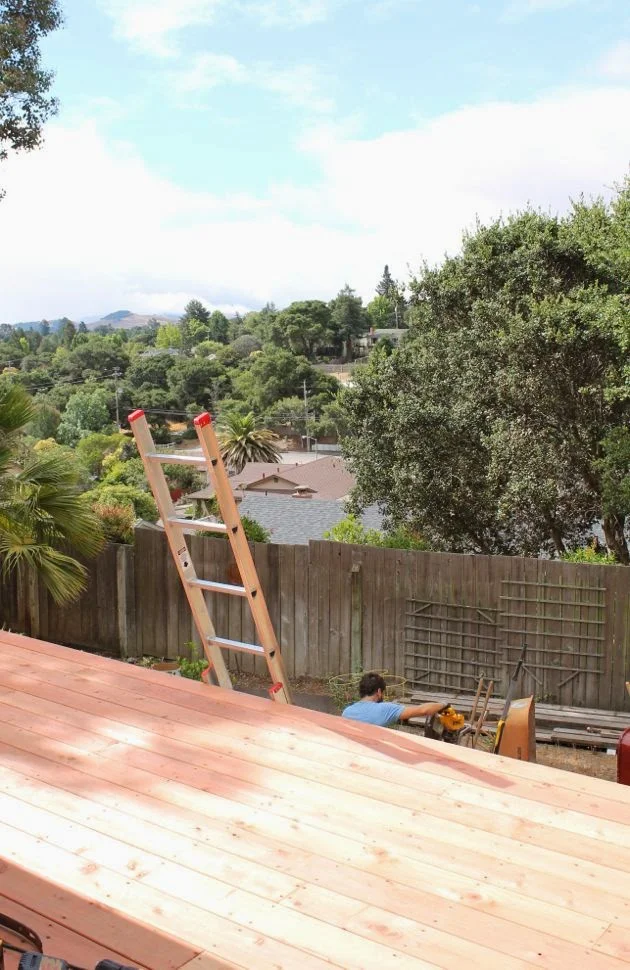
Hi, it's me. I'm crawling out from under a pile of wood to bring you a renovation update. Over the past few weeks, the narrow 40" x 40' balcony that flanked the back of the house has been dismantled, piers dug out, and a new structure, both functional and beautiful has been constructed in it's place. Here's the story of our deck...

It's amazing what a little paint can do to quickly transform a space. This week I slapped a few coats of magnetic primer and chalkboard paint onto a floating wall that divides our kitchen from the living space, a wall we will be tearing down sooner or later.

You've got to tear it down to build it up. This has been my mantra for the last few months, and it applies to more than just my new house. I've taken a break from regular blogging to focus more on the redesign of our top floor and outside space, and to work on the next big thing for Poppy Haus, something I'll be announcing very soon... Another reason I've backed off is that since moving here I've struggled to find a way to decorate. It seems pointless when I know that so many of the walls will be coming down. I hesitate to paint, because I want to see the new space before deciding on colors. I want this new home to feel open, and I want to bring the outside in. I've found myself collecting little bits of inspiration and putting them in bowls and jars strewn about the house. Just last weekend when we were hiking in the Russian River, I gathered a bunch of lichen covered sticks that somehow made their way here. I love having flora tucked on bookshelves, pinned to the walls, mingling with books and art. So for now I'm keeping it simple and white, and I'm letting the plants take over while I work it out. And today I'm sharing a little ditty on how to make an air plant wall piece from some freshly gathered lichen covered sticks. xo

We are a family of loungers. Busy bodies when we have to be, at the end of the day, or on a lucky weekend we can be found lazying around on our bellies reading magazines (or Star Wars books), stretched out on our backs across the couch watching television, or in a lounge chair, and now our hammock, doing nothing but staring at the trees. When our extended family comes to visit they lounge too. Loungers I tell you. For this reason we require, and acquire a lot of pillows. When we moved, I packed two XL boxes full of throw pillows and 2 over-sized bags of bed pillows, with no assigned beds. I was about to donate most of these guys, when it occurred to me that they would make perfectly good stuffing for floor pillows.

Today I will teach my third Indie Craft Lab class! I settled on a paper and string theme for this semester to test the waters working with 4th-6th graders on a variety of Poppy Haus inspired projects. The end goal is for each girl to have several handmade pieces to fancy up their bedrooms. So far we've made the cupcake paper lantern, a striped drinking straw sunburst mirror, and this week we dive into string art. I'm amassing a collection of tiny hammers and brightly colored glue guns, and I'm learning how to pace the class, and how to best present a project to a group of eager crafting tweens. Honestly, it's pretty awesome.

Our new house is white walled, and I'm kind of loving it. I like the idea of bringing in little pops of color with art and accessories. I can easily swap them out when I want to change things up. Because our upper level has great light and beautiful tree-filled valley view, I really want the interior walls to come alive with flora to mirror the outside. I even bought a few large Shane Powers ceramic wall pots from West Elm for hanging ferns on the stairwell wall (me and those ferns). Using these large pieces as a point of inspiration, I made some tiny versions with polymer clay to hang in smaller spaces, like the bathroom, or over a bedside table. I think the granite pots look like river rocks.

This will be the last dispatch from the coffee table in this living room with the black and white rug. We get the keys today! I'm still knee deep in packing materials, but as this is maybe the busiest month on record, we are also attending the big elementary school fundraiser tonight, two days before we move. The word on the street is that if you bring your own flower arrangement you can claim your table. I thought this is as good a time as any to test out this amazing new recipe book that was sent to me to review...it's a recipe book about plants, or rather, how to use plants to create beautiful, decorative arrangements for your house.

I love working with tween girls...they say the funniest things. They are always so chatty and engaged, they are not yet too cool or distracted by themselves, yet they are not too young to focus their attention on something, take direction, and work through a problem. For this reason, I am testing out my first iteration of design classes with 4th through 6th graders in an after school enrichment at my son's school. Here's my spiffy flier. If all goes well with this test run, I'll be able to open up classes to everyone soon!

Things are plugging away over here. Thank you for all the kind words about Wylie, and our big news last week. We have our big home and pest inspection today, one of the last major hurdles before we can finally call ourselves homeowners. The boys are starting to get excited about moving, and are already talking about what they want in their new rooms. Jasper has this cool idea to keep his room white, and paint his ceiling black, for a scatter of glow-in-the-dark stars. I'm totally down with this idea, and I thought we could make it a little more like an art piece and a fun project if we made our own stars with polymer clay. You can purchase glow-in-the-dark oven bake clay and a set of star cookie cutters at the craft store. I am using 3M command strips to attach to the ceiling to set them off the ceiling ever so slightly, to give the impression that they are floating in the sky. Here's the simple tutorial.

Headbands hurt my head. It's a lesson I have to learn over and over again, because I love the way they look. I have amassed a collection that are, for the most part, relegated to face washing or the first 15 minutes of an outfit. The only way I can get away with a headband is if it is loosely fitted, with an elastic band around the back; a style that is usually only found in the little girls section. After spotting something like this at Anthropologie, in a material that was a little too fancy for my taste, I set out to make my own, using the last of the scrap fabric from a long ago favorite dress. I can't wait to wear it this summer, hair down, up in a pony tail, or over the forehead, turban style. This tutorial is based on my own medium noggin size, just adjust the measurements to fit your own head properly.
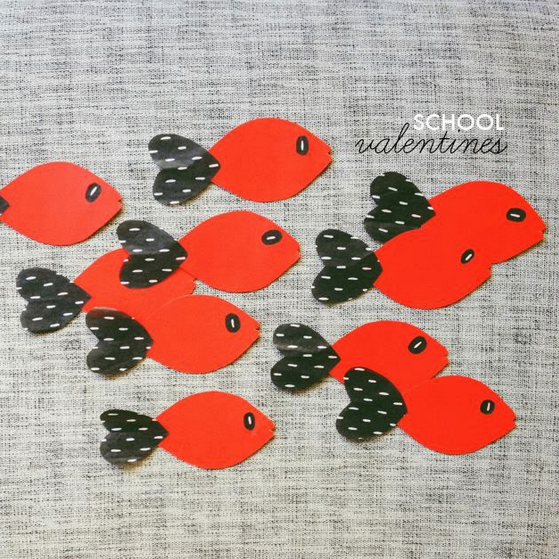
For some silly, self-imposed reason I feel a little obligated to hand make the school valentines we give out. If I'm being completely honest, this is not really my thing. Last year we did get pretty into it making mustaches and lips on sticks, but usually I go for a paper heart with some glitter and call it a day. Valentines kind of stump me...having boys makes it even harder, because they don't want anything too cute(pink is cute, love is cute). So for this year I'm going a little artsy, making a school of fish with heart shaped tail fins. I totally swiped the "school of fish" concept from a snack valentine I saw on Pinterest. My valentines are so easy to make I think they hardly warrant a formal tutorial. All you need to do is make a template of a fish body, use the template to make the bodies from red card stock, cut out hearts from tissue paper (this pretty design is from Target), and print out or write the "our school is cool" tagline on the back. Dust your hands off, you are done, my friend. xo.

I'm currently toying with the idea of offering an indie crafting class for the pre-tween set. I imagine it to be a time to work on projects like string art, sculptural/3D pieces, and paper lanterns, and naturally we would also talk out the world's problems while we craft. I had a couple of little ladies over last weekend to work on one such project that I designed to share over on Playful Learning today. After learning how to make my own simple loom for a weaving assignment in a textiles class, I decided to try it out as a kid's project, as the materials and technique are really quite straightforward. I was joined by 4th graders Ella and Amelia for an afternoon of weaving, here's Ella's finished tapestry...

I will be headed on the first plane out of Oakland tomorrow morning to join in on the festivities at Alt Summit in Salt Lake City. This will be my second time at the conference, and I get to go with Blurb, so I'm feeling pretty calm considering I don't know anyone really all that well. I found the right dress to wear to the "Green" party, I've got my outfits packed, my seminars picked out (this will be the year of video!) and I finally seem to have kicked my wicked stomach bug. After I hit the publish button on my last post, I stood up, got super sick, and went to bed for 20 hours. I didn't know if I'd be able to get this one last thing done, but sitting and painting is actually really relaxing. Along with my business cards, I will also be handing out these little painted birch magnets as little takeaway to remember my blog by. I wanted to do something that would relate to my new book, which features projects that re-imagine simple materials into something useful and pretty. To make your own follow the tutorial below. See you at Alt? Come say hi! My name is Heather, and I look like the silly girl up top without the paper crown and glasses.

I promise this is not evolving into a party blog...I'll leave that to the experts. My dear friend Coco is having herself a little party this weekend to celebrate the 10th anniversary of her 30th birthday, and her husband Jim asked me to help out with "the look". Coco is a natural beauty, she is kind, sincere, and a appropriately goofy. When we lived in Montclair (Oakland), we were their down-the-hill neighbors, our kids are friends, and we spent several days a week at each others houses. Our moving away was pretty hard on both of our families, so we were beyond excited when Jim took a counseling job at the junior college up here - they'll be our neighbors once more this summer! Right around the time we moved, Coco bought the supplies for us to make one of my paper lanterns together, but we never got around to it, so I'm surprising her with this gilded version for her birthday. The party is at Campovida's Oakland tasting room, a reclaimed wood and brick clad space, located near Jack London Square. I went for a Kate Spade inspired palate of gold, fuchsia, royal blue, and teal. I found these sparklers in the same colors for a little late-night fun, and we're doing a photo booth including big white C O C O prop letters set against a pretty gold sequined backdrop. The be-tasseled lantern will hang prominently with more draped garlands and some giant clear balloons filled with gold confetti placed around the room. To make the paper lantern watch this video tutorial, glue in a second layer of smaller papers, and apply multiple light coats of gold metallic spray paint, and check out the how-to for tassel garland below.

When we get all dressed up and fancy without our kids, as in never, I usually try to take at least one photo to remind myself of my youth, and to use as a totally realistic Facebook profile pic. I know I'm not alone.
So for Adam's birthday party, I got to work making a photo booth, so that everyone could get a pretty shot of themselves dressed up. I didn't have a professional photographer, and I had to combat the nighttime lighting which can be either too dark or stark/artificial, so I had to think through the easiest way to make it work. I thought I'd share some tips for making a photo booth for evening-time soirees. Academy Awards party?

It's January. I know this because the frozen air and my somber post- holiday mood is leaving me with the overwhelming desire to strip my house naked like a tree without leaves. I love empty space. I love simple, natural elements. I love air plants, and succulents, and leafy stems, and barnacle covered stones. I made a winter terrarium with them this week. I rinsed the barnacles with cold water and shook the moisture off, then put them on a wooden cheese pedestal with air plants- the moisture from the rocks keeps them hydrated- and covered them with a glass dome. The air plants look like sea plants to me, and the whole thing looks decayed, and frozen.

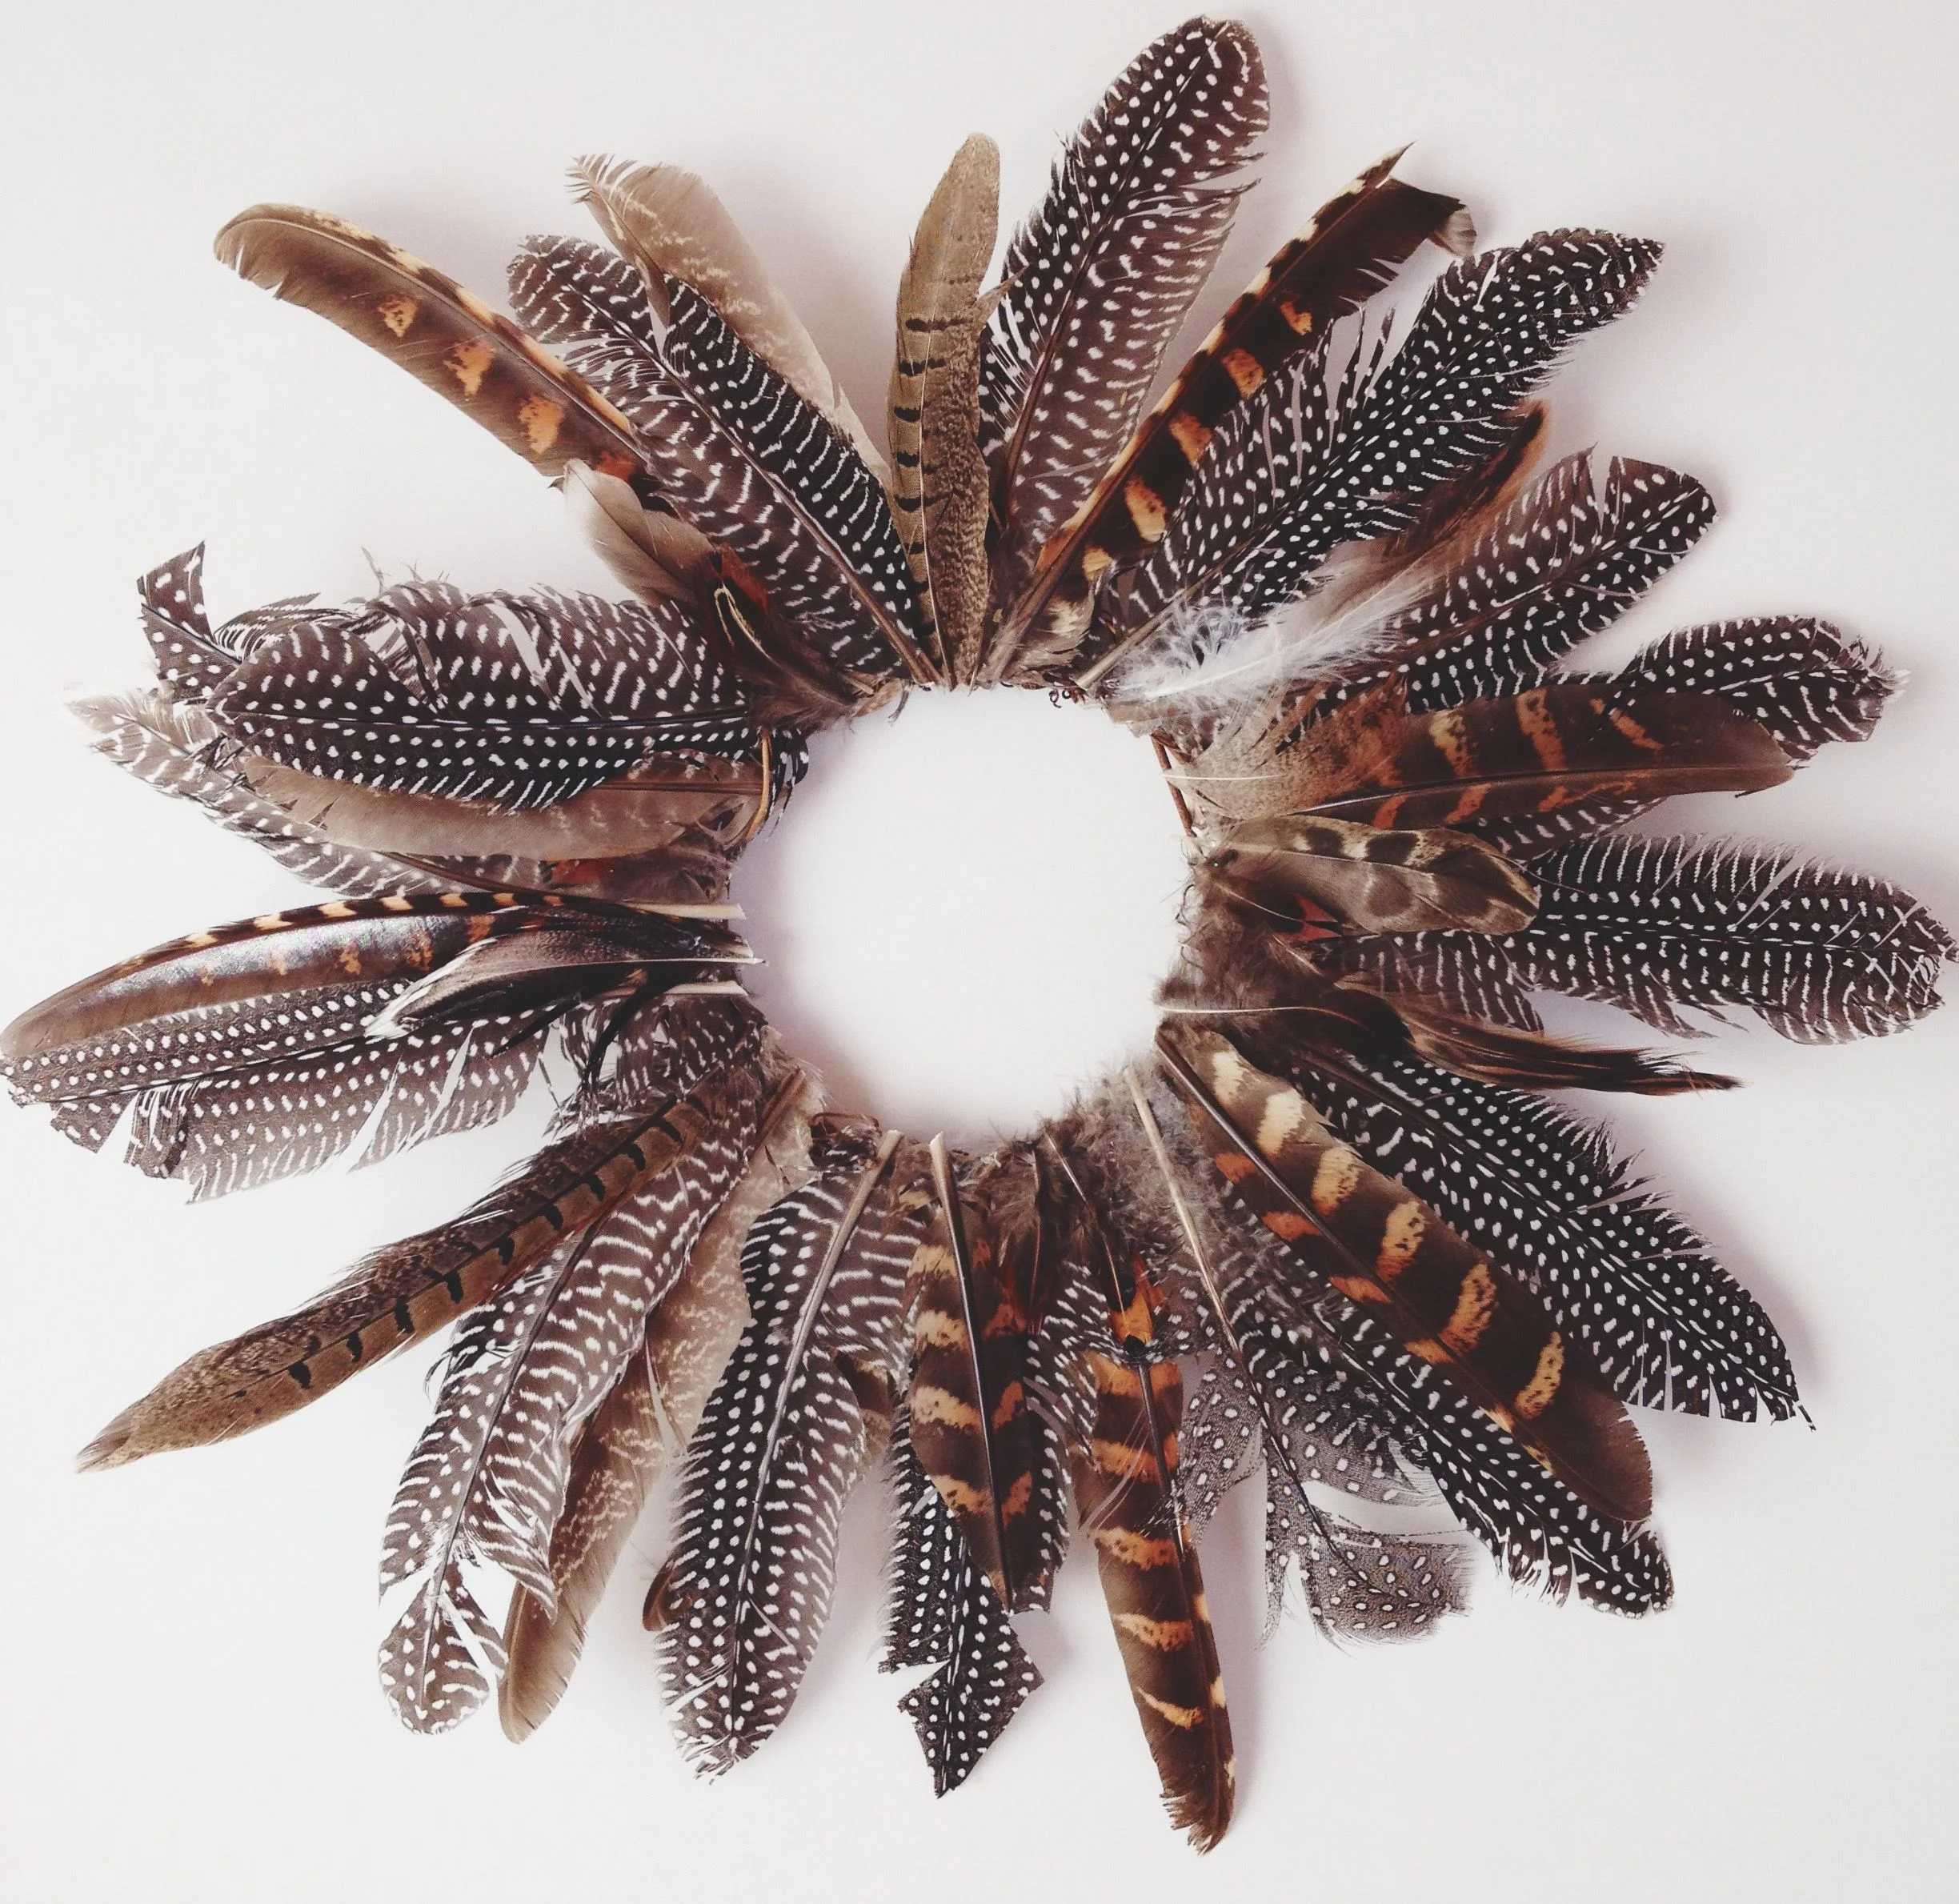
The tree is down. I put it next to our fireplace this year, and totally dried it out. While I'm a little sad to see Christmas go, I was tiring of the endless versions of little drummer boy I've heard over the last month. Fortunately I have next week's NYE party to look forward to. I'm making my first photo booth for the occasion, and I've been working on some festoons for the party guests. While packing away our Christmas haul, I discovered a box of this net-like craft paper padding, and I thought it might look pretty nifty spray painted gold, fashioned into a paper crown. I also painted feather tips with school glue, then dredged them in old fashioned glitter. To make both, all you'll need is some cheap-o plastic headbands, hot glue, masking tape (or washi) and gold metallic spray paint. See photo tutorial below...
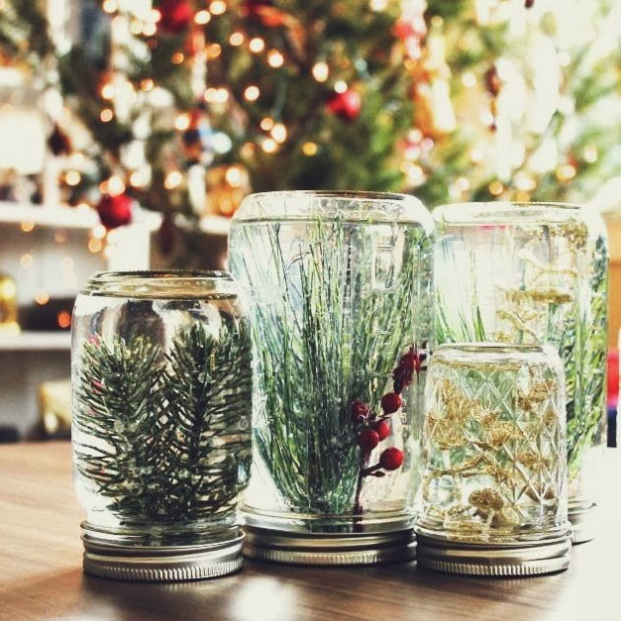
I haven't exactly dropped off the face of the earth, but I am finishing up the semester (finals) and my internship with Anthropologie comes to a close this Friday, which explains why the blog isn't being updated as often lately. I'm a little preoccupied with not knowing what comes next... We have been making things here and there, little after-school projects like these mason jar snow globes, but I've decided to just enjoy my downtime, rather than try to document everything. A few weeks ago I led a children's holiday crafting event at Anthro where we ate cookies and worked on a mason jar globe project. It's an easy to do, elementary school inspired craft, and the kids really loved it, so back at home I made a few more with Jasper. We used some plastic foliage from the craft store to fill the jars. They have a bit of an underwater forest look- totally weird, but rather pretty in the sunlight. Here's the tutorial:

They say our sense of smell is deeply tied to memory. Just think of when someone walks by wearing the same cologne as your high school boyfriend- you know what I'm talking about. Some of my favorite scents are alfalfa and hay which remind me of my grandparents horse ranch, the salty air at the ocean, woodsmoke, and coffee. I also love the smell of pine sap, and baking from the kitchen which remind me of Christmas. One way you can bring up that aroma this time of year is to slowly simmer dry whole spices, like cinnamon sticks. We have a nice gas fireplace stove in our living room with a ledge deep enough to hold a small enamel pot, and I've been keeping cinnamon simmering throughout our recent cold snap. All you need is your pick of dry whole spices like cinnamon sticks, whole nutmeg berries, cloves, rosemary, pine needles. Add to a pot with water and a little oil (I used jojoba), bring to a simmer on a stove top and cozy up with a warm blanket...



We've got one big wall in this joint. I've had a lot of ideas come and go while trying to figure out what to do with it... it could house a big hodgepodge of art and old family photos, a giant macrame, maybe dramatic wallpaper? But in an attempt to overtake the house with plants (I'm shooting for 100) I settled on a living plant wall. The plan is to put a skylight in over the stairwell in the next year, which will help train the plants up and keep them nice an healthy. I used the Wooly Pocket system in a skewed 3/3/2 pattern about three quarters of the way up the wall, with the lowest container just above head height. The containers have a well at the back that sustains the plants for 2 weeks before needing a refill. Here's a little picture tutorial of how I put it together...